Introduction
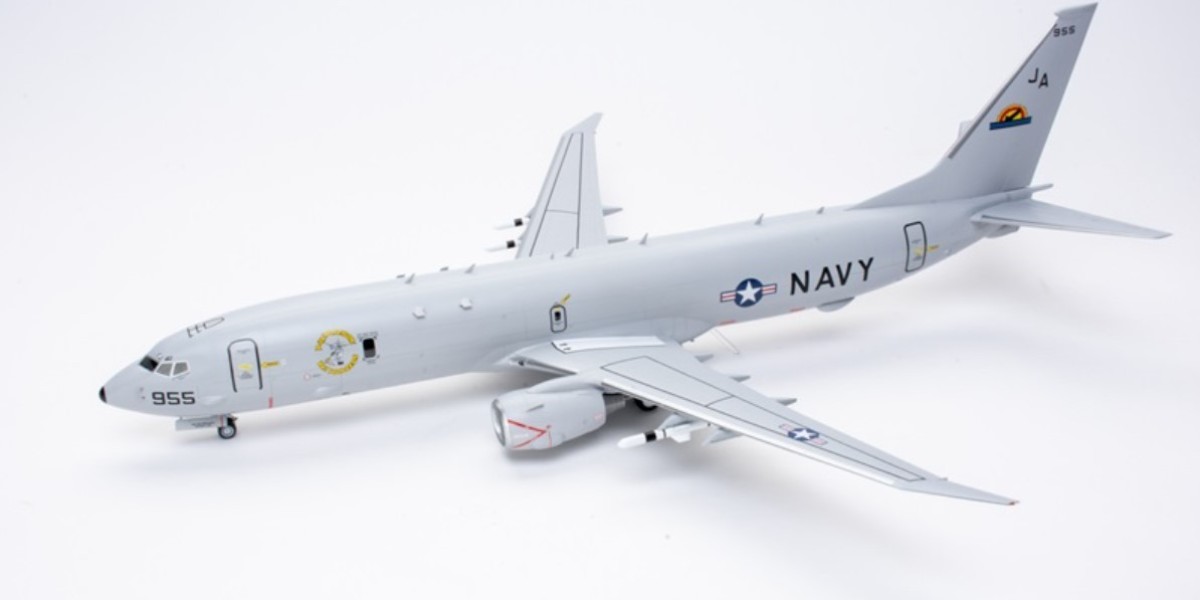
Building an airplane model kit is a rewarding hobby, but it’s the painting process that truly brings your model to life. The right paint job can transform a simple plastic model into a realistic miniature masterpiece, showcasing intricate details and historical accuracy. If you’re a beginner, learning how to paint your model correctly is crucial to achieving that polished, professional look.
In this guide, we'll walk you through the steps of painting your planes model kits, providing pro tips and techniques to help you get the best results.
Why Painting Matters
Enhances Realism
One of the main reasons to focus on painting is that it enhances the realism of your model. Accurate paint schemes and subtle weathering effects make the model look like it’s fresh off the tarmac (or worn down after countless missions).
Highlights Details
Painting also highlights the small details that might otherwise go unnoticed, like cockpit controls, panel lines, and rivets. Careful painting helps these features stand out and adds depth to the overall look of your model.
Essential Painting Tools and Materials
Paint Types
Acrylic Paints: These are water-based and easy to clean, making them a favorite among beginners. They dry quickly and come in a wide range of colors.
Enamel Paints: Oil-based paints that provide a glossy, durable finish but require special thinners for cleaning and longer drying times.
Primer: A primer helps the paint adhere better to the plastic surface and ensures a smooth, even coat.
Brushes and Applicators
Fine Detail Brushes: Ideal for small details and precision work.
Flat Brushes: Useful for larger surfaces like wings and fuselage.
Airbrush (Optional): An airbrush can give you a smooth, professional finish, especially for large areas. However, it requires practice and a bit more investment.
Other Tools
Masking Tape: For covering areas you don’t want to paint, ensuring crisp lines between different colors.
Tweezers: Helps with small parts during painting.
Palette: For mixing and thinning paints.
Thinners: Used to thin out paints for smoother application and cleaning brushes.
Step-by-Step Guide to Painting Your Airplane Model Kit
1. Prepare the Model
Before painting, ensure that the model is fully assembled and clean. Use sandpaper or a file to smooth any rough edges or seams. Cleaning the model with mild soap and water removes oils and dust that could affect paint adhesion.
2. Prime the Model
Priming is a crucial step that beginners often skip, but it makes a huge difference in the final result. Apply a thin, even coat of primer to the entire model. This ensures that the paint adheres well and gives you a uniform surface to work on. Use a spray primer for an even application, and let it dry completely before moving on to painting.
3. Plan Your Paint Scheme
Check the kit's instructions or do some research to determine the correct paint scheme for your model. WWII planes, for example, often had camouflage or specific squadron markings. Planning your colors in advance ensures you have everything ready before you start.
4. Base Coating
Apply the base color to the largest areas of the model, such as the fuselage and wings. Use a flat brush or airbrush for larger surfaces, applying thin coats to avoid streaks or drips. Allow each coat to dry thoroughly before applying the next.
Pro Tip: Thin your paints slightly with water (for acrylics) or thinner (for enamels) to achieve smooth, even coats without obscuring details.
5. Masking for Multiple Colors
If your airplane has multiple colors (like a camo scheme or different underbelly shade), use masking tape to cover areas that shouldn’t be painted yet. This helps create sharp lines between different colors. Press the tape down gently but firmly to avoid paint bleeding underneath.
6. Detail Work
Once the base colors are dry, it’s time to work on the finer details. Use a fine detail brush to carefully paint parts like the cockpit, landing gear, or engine components. Go slow and steady to avoid mistakes.
Pro Tip: When painting details, less is more. It’s better to build up thin layers than to apply too much paint at once, which can result in a clumpy or uneven look.
7. Weathering Effects
Weathering adds a layer of realism, making your airplane look like it’s been through actual missions. Here are a few techniques:
Dry Brushing: Dip a dry brush lightly into paint, then wipe off most of it on a paper towel. Gently brush the edges of the model to simulate worn or chipped paint.
Washes: A wash is a thinned-down paint that flows into recessed areas, highlighting panel lines and adding depth.
Chipping: Use a sponge or small brush to dab silver or grey paint onto areas like the wings or nose to simulate paint chips.
8. Applying Decals
Most model kits come with decals for insignia, markings, and other details. Carefully cut out the decals and apply them to the painted model using tweezers. Soak them in water for a few seconds to loosen, then slide them into place. Once the decals are dry, use a setting solution to make them adhere more smoothly and reduce the appearance of edges.
9. Sealing the Paint Job
After all your painting and decals are in place, seal the model with a clear topcoat. A matte finish works well for most military aircraft, while a gloss finish is better for commercial jets. The topcoat protects your paint job and decals, giving your model a polished look.
Common Painting Mistakes to Avoid
Too Much Paint: Thick coats can obscure details and cause drips. Always apply thin, even layers.
Skipping Primer: Not using a primer can result in uneven paint adhesion and an unprofessional finish.
Rushing the Process: Take your time between coats. Rushing through drying times can lead to smudges or an uneven finish.
Overhandling: Avoid touching painted areas until they are fully dry, as oils from your hands can affect the paint.
Conclusion
Painting your airplane model kit is where your project truly comes to life, turning bare plastic into a stunning replica of aviation history. By taking the time to prepare your model, apply thin coats of paint, and add detailed finishing touches, you’ll be well on your way to creating a masterpiece. Remember to be patient and enjoy the process—it’s a rewarding part of the model-building hobby that allows you to showcase your creativity and precision.
FAQs
What’s the best paint type for beginners?
Acrylic paints are the best for beginners due to their quick drying times, ease of use, and easy cleanup with water.Can I paint without using primer?
While it’s possible, it’s not recommended. Primer helps the paint adhere to the plastic and creates a smoother finish.How can I avoid brush streaks?
Use thinned paint and apply it in thin, even layers. Also, using a good quality brush can make a big difference in reducing streaks.Is airbrushing necessary for painting models?
Airbrushing isn’t necessary, but it can provide a smoother finish, especially for larger areas. Many beginners start with brushes and gradually move to airbrushing as they gain experience.How long should I wait between coats of paint?
It depends on the type of paint. Acrylics generally take 15-30 minutes to dry between coats, while enamels may take longer. Always check the paint manufacturer’s guidelines.
Our Social Pages:
https://plastic-models-store.com/
https://www.facebook.com/plastic.models.store
https://www.instagram.com/plastic_models_store/
https://www.youtube.com/channel/UCKpiM8Q6k2XjOwN9lW0fOrw


