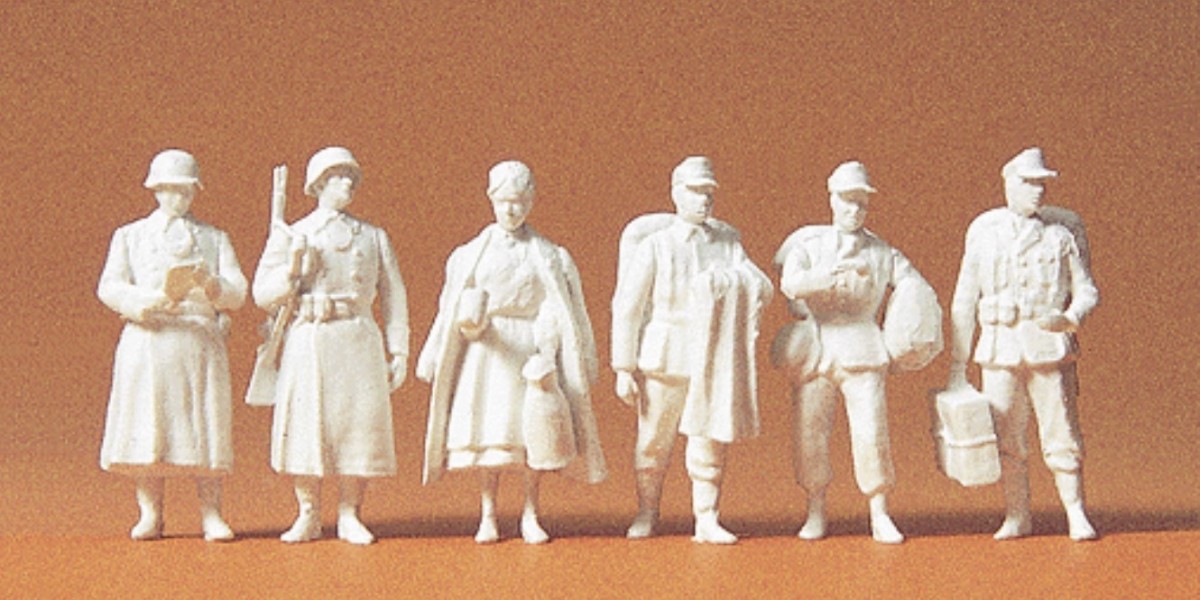
Painting 1/72 figures requires precision, especially when it comes to facial expressions. Even though the scale is small, capturing subtle expressions can bring your figures to life, adding depth and emotion to your dioramas. In this guide, we’ll go over the essential techniques for painting facial details that transform your miniatures from simple models into dynamic, character-rich figures.
Introduction to Painting Faces on 1/72 Figures
Painting facial expressions on 1/72 figures can be one of the most challenging yet rewarding parts of the modeling process. Due to the small size, every brushstroke counts. But with the right approach, you can create tiny, detailed expressions that enhance the realism of your figures and make them stand out in your diorama.
This guide will walk you through the techniques you need to master the art of painting tiny faces, even with limited experience.
Choosing the Right Brushes and Tools
The first step in painting facial details on 1/72 figures is selecting the right tools. Because the facial area is so small, you’ll need precision brushes and other fine tools to apply detail accurately.
Best Tools for the Job:
Fine-Tip Brushes: Opt for size 00 or 000 brushes, as they allow for detailed work on small areas.
Magnifying Glass or Headset: A magnifying tool is essential for seeing the tiny details you’ll be working on.
Steady-Hand Tools: Consider using a paint handle or holder to keep your figure steady as you work.
Using the right tools ensures that your brushstrokes are controlled and precise, which is critical for facial painting.
Understanding Facial Structure in Miniatures
Even though 1/72 figures are small, understanding the basic structure of the face is important. Faces are made up of key areas: the eyes, nose, mouth, and cheeks. On a miniature, these details may be simplified, but they still need to be carefully painted to bring out expression.
Key Areas to Focus On:
Eyes: Typically the most important feature in any expression. Placement and size are crucial.
Mouth: Even a small adjustment can change the figure’s mood.
Cheeks and Brow: Use shading here to suggest emotions like anger or joy.
Recognizing these basic facial areas helps you know where to apply paint to achieve different expressions.
Prepping and Priming Your Figures
Before you start painting, you need to prepare your figures by cleaning them and applying a primer. This ensures that the paint adheres well and provides a solid base for your colors.
Steps for Prepping Your Figures:
Clean the Figure: Use a mild soap solution to wash off any mold release agents or dust.
Apply Primer: Use a white or light gray primer to provide an even base. A lighter primer helps your facial details stand out more clearly.
Proper preparation sets you up for success by ensuring the paint goes on smoothly and adheres well to the surface.
Base Coating the Face
After priming, the next step is to apply a base coat to the face. This is where you’ll establish the skin tone of your figure.
Choosing Skin Tones:
Light Skin Tones: Start with a pale beige or light tan.
Medium Skin Tones: Use a warmer, mid-tone brown or tan.
Darker Skin Tones: Opt for rich browns and sienna shades.
Apply the base coat carefully, using thin layers to avoid obscuring any facial details. This gives you a smooth foundation to work from when you start adding expressions.
Painting Eyes on 1/72 Figures
Eyes are the focal point of any face, even on 1/72 figures. While they can be tricky to paint at this scale, the right approach will make them pop.
Steps for Painting Eyes:
Base Coat the Eye Area: Start with a small dot of white or off-white in the eye sockets.
Add the Pupil: Use a fine-tipped brush or a toothpick to add a small black dot in the center for the pupil.
Highlight Around the Eyes: Carefully use a light wash or highlight to frame the eye and make it stand out.
Painting eyes well requires patience, but it makes a huge difference in how expressive your figures look.
Highlighting Key Facial Features
After the base coat is in place and the eyes are painted, it’s time to highlight the key facial features. This is where you can bring out the nose, lips, and cheeks for a more detailed and realistic face.
How to Highlight:
Nose and Brow: Apply a slightly lighter shade of your base color to the nose and brow to make them stand out.
Lips: Use a slightly darker tone to define the lips, but avoid making them too bold.
Cheeks: Add a gentle blush tone or lighter highlight on the cheeks to suggest depth.
Highlights should be subtle, but they’re essential for making the face look more three-dimensional.
Shading for Depth and Expression
Shading is what adds depth and helps create facial expressions. By adding shadows in the right places, you can give your figure’s face more character.
Where to Add Shadows:
Under the Eyes: This adds depth and can even suggest fatigue or determination.
Around the Mouth: Shading here defines the shape and emotion of the lips.
Under the Cheekbones: A little shading below the cheekbones can make the face look more dynamic and expressive.
Use a thin wash or diluted paint to build up layers of shadow gradually. This allows you to control the depth and intensity of the expression.
Adding Subtle Emotions
Once you’ve built up highlights and shadows, you can start adding subtle emotions to your figures. This is done by adjusting tiny areas of the face.
Tips for Adding Emotion:
Anger or Determination: Darken the brows slightly and add a shadow under the eyes for a tense look.
Joy or Surprise: Highlight the upper cheeks and open the mouth slightly with a lighter tone.
Sadness: Shade the area around the eyes and use darker tones near the mouth to suggest a downturned expression.
Small changes in shading and highlighting can transform a neutral face into one filled with emotion.
Final Touches: Beards, Hair, and More
Once the facial expression is in place, you can finish your figure with final touches like hair, beards, and other small details that enhance the character.
How to Paint Hair and Beards:
Base Coat: Start with a flat color for the hair or beard.
Dry Brush: Use a lighter shade to gently dry brush over the hair, adding texture and highlights.
Final Details: Add small touches of gray or white to represent aging or light reflection.
These final touches help complete the look of your figure and make the face feel finished and lifelike.
Common Mistakes to Avoid
Painting faces on 1/72 figures is challenging, and there are common mistakes that can detract from the overall effect. Here are a few to watch out for:
Overloading the Brush: Too much paint can obscure fine details. Use thin layers and work slowly.
Ignoring Scale: Don’t paint features too large for the figure’s face. Subtlety is key.
Skipping Highlights: Skipping highlights can make the face look flat and lifeless.
By avoiding these mistakes, you’ll improve the final appearance of your figures and make the facial expressions more impactful.
Conclusion
Painting facial expressions on 1/72 figures is a fine art that requires patience and precision. By mastering techniques like base coating, highlighting, shading, and adding small emotional details, you can bring even the tiniest figures to life. With practice, you’ll be able to create figures that not only look realistic but also convey emotions and character, enhancing the storytelling in your dioramas.
FAQs
How do you paint eyes on 1/72 scale figures?
Use a fine-tipped brush to carefully dot in the whites of the eyes, then add a small black dot for the pupil.What is the best brush size for painting faces on miniatures?
A size 00 or 000 brush is ideal for fine facial details, allowing for precision and control.How can I make facial expressions more realistic?
Focus on subtle shading and highlights, and use small adjustments in the eyes, mouth, and brow to suggest emotion.Should I use a magnifying glass when painting miniatures?
Yes, using a magnifying tool helps you see tiny details more clearly and paint with greater accuracy.Can you paint facial hair on 1/72 figures?
Yes, you can paint beards or stubble by dry brushing lighter tones over a darker base color to create texture.
Our Social Pages:
https://plastic-models-store.com/
https://www.facebook.com/plastic.models.store
https://www.instagram.com/plastic_models_store/
https://www.youtube.com/channel/UCKpiM8Q6k2XjOwN9lW0fOrw


